
What Buyers Should Check Before Ordering 4×6 Thermal Shipping Labels
A shipment of 4×6 thermal shipping labels can arrive in the correct size and still interrupt a packing line. The roll may be too large for the printer, the sensor may miss each label, or the adhesive may lift from the carton. Before comparing prices, confirm the label construction and roll format against the equipment and packaging you actually use.
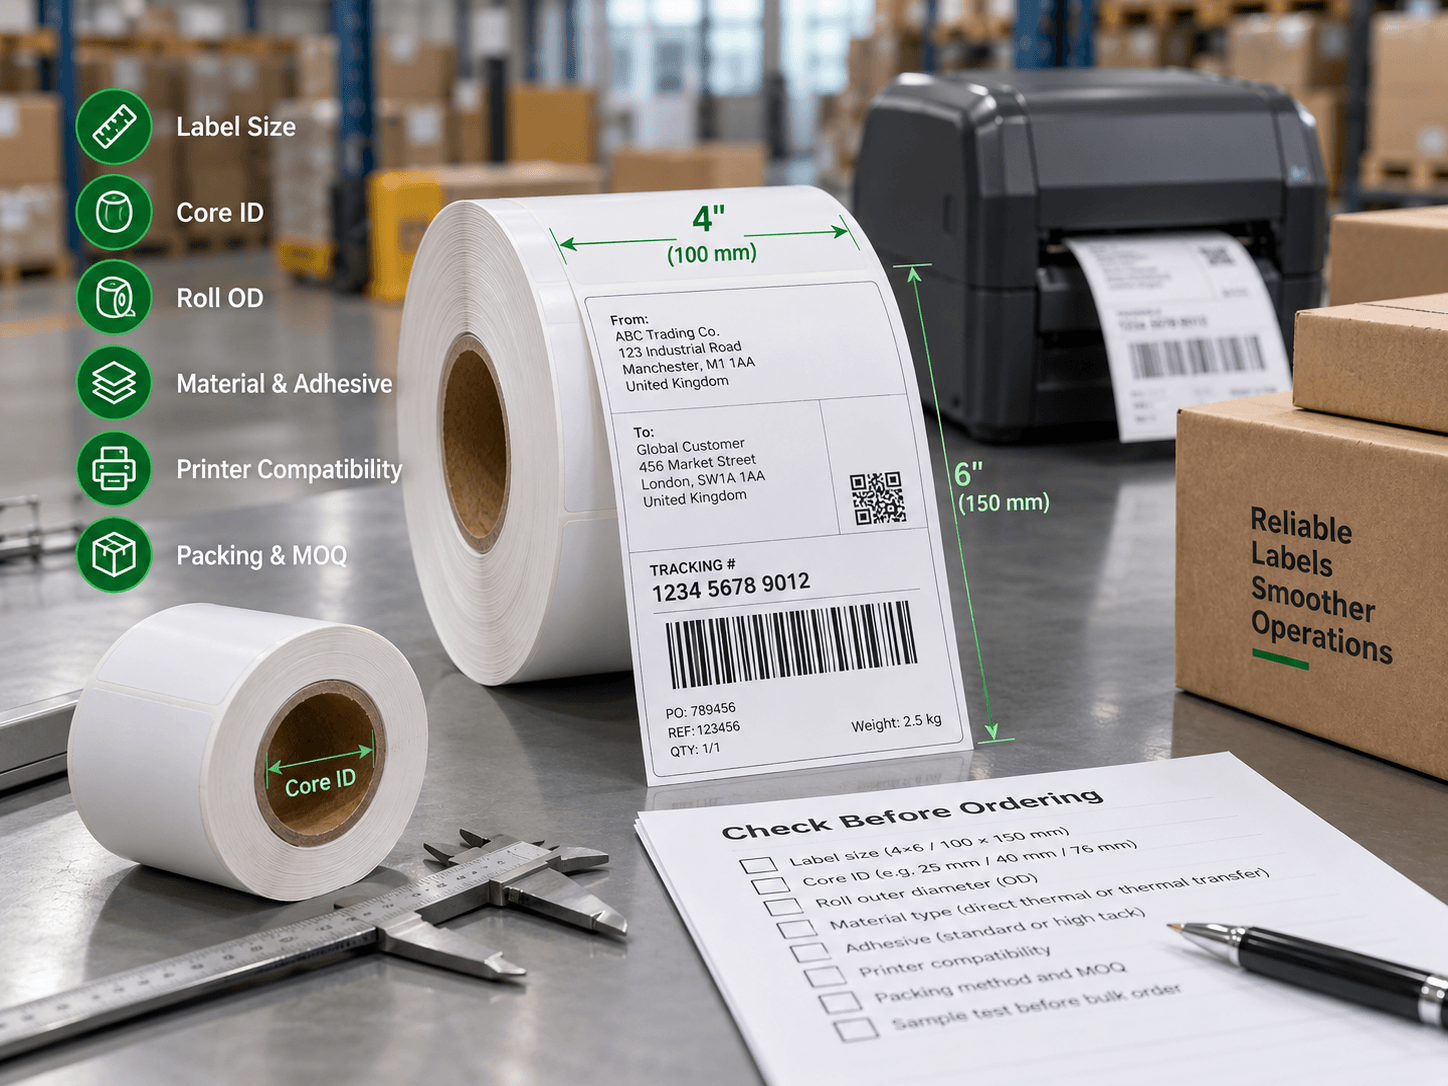
Confirm the actual dimensions and print method
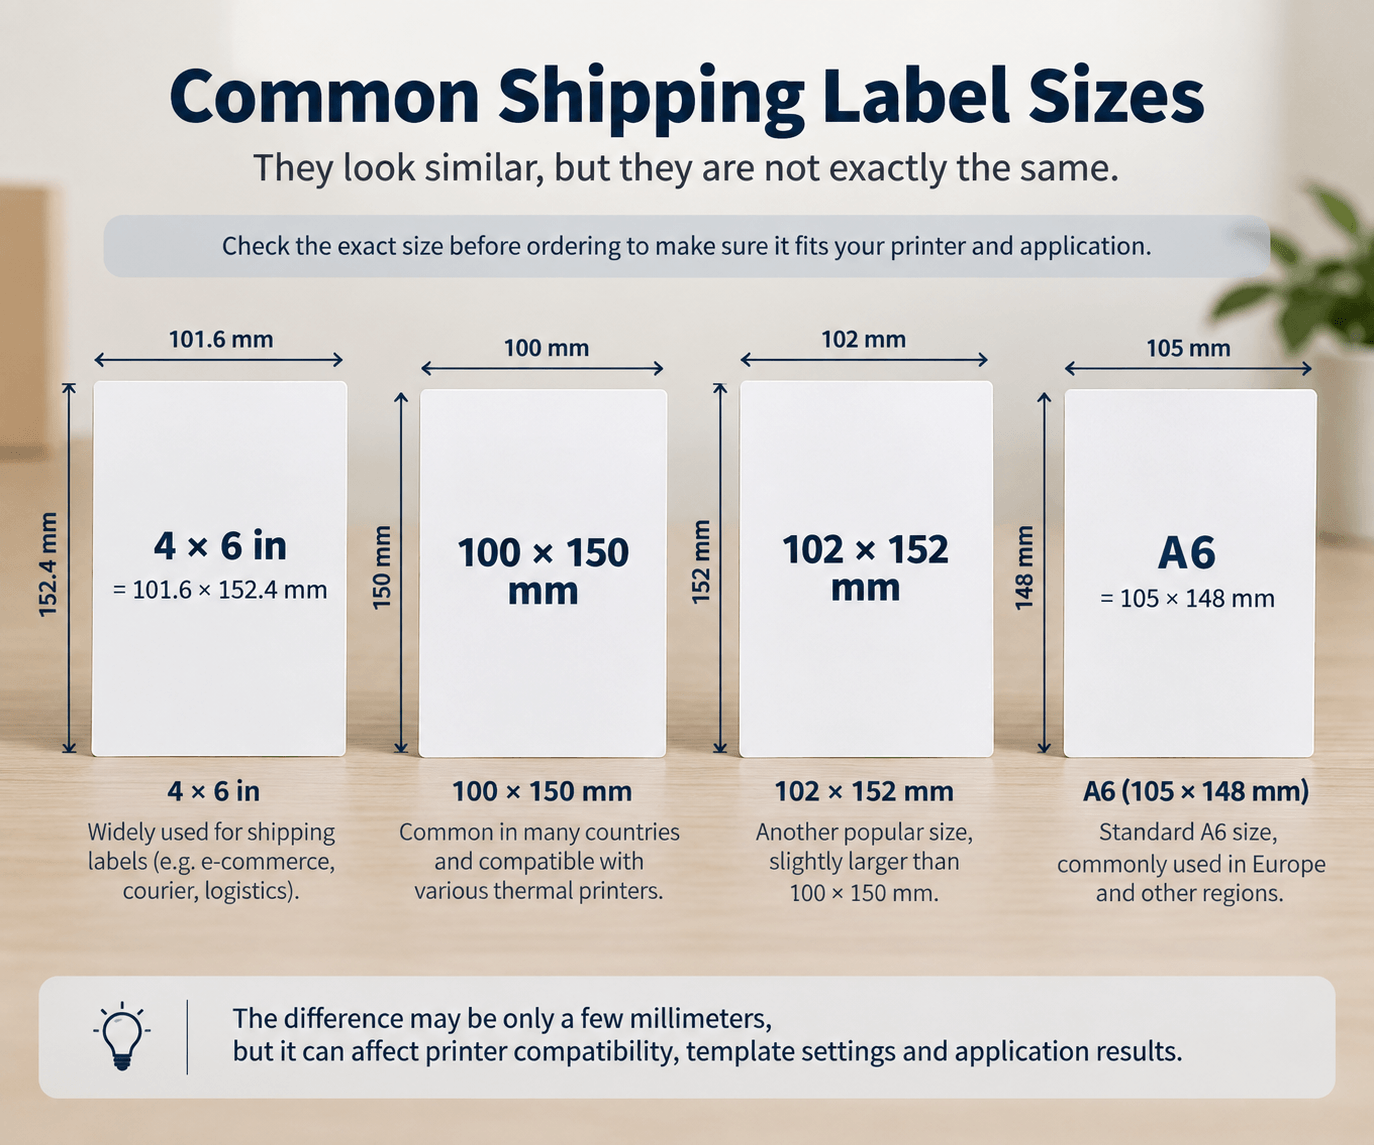
A true 4×6-inch label measures 101.6 × 152.4 mm. The 100 × 150 mm and 102 × 152 mm sizes sold for similar shipping applications are close, but they are not identical. A6 is 105 × 148 mm. State the actual dimensions on the order and check them against the carrier PDF and printer media preset. Automatic scaling can change the layout and barcode margins.
Specify Direct Thermal (DT) or Thermal Transfer (TT). DT uses a heat-sensitive surface without a ribbon; TT requires a compatible ribbon. For either method, select the material around the required label life and exposure during delivery, including heat, sunlight, moisture and rubbing.
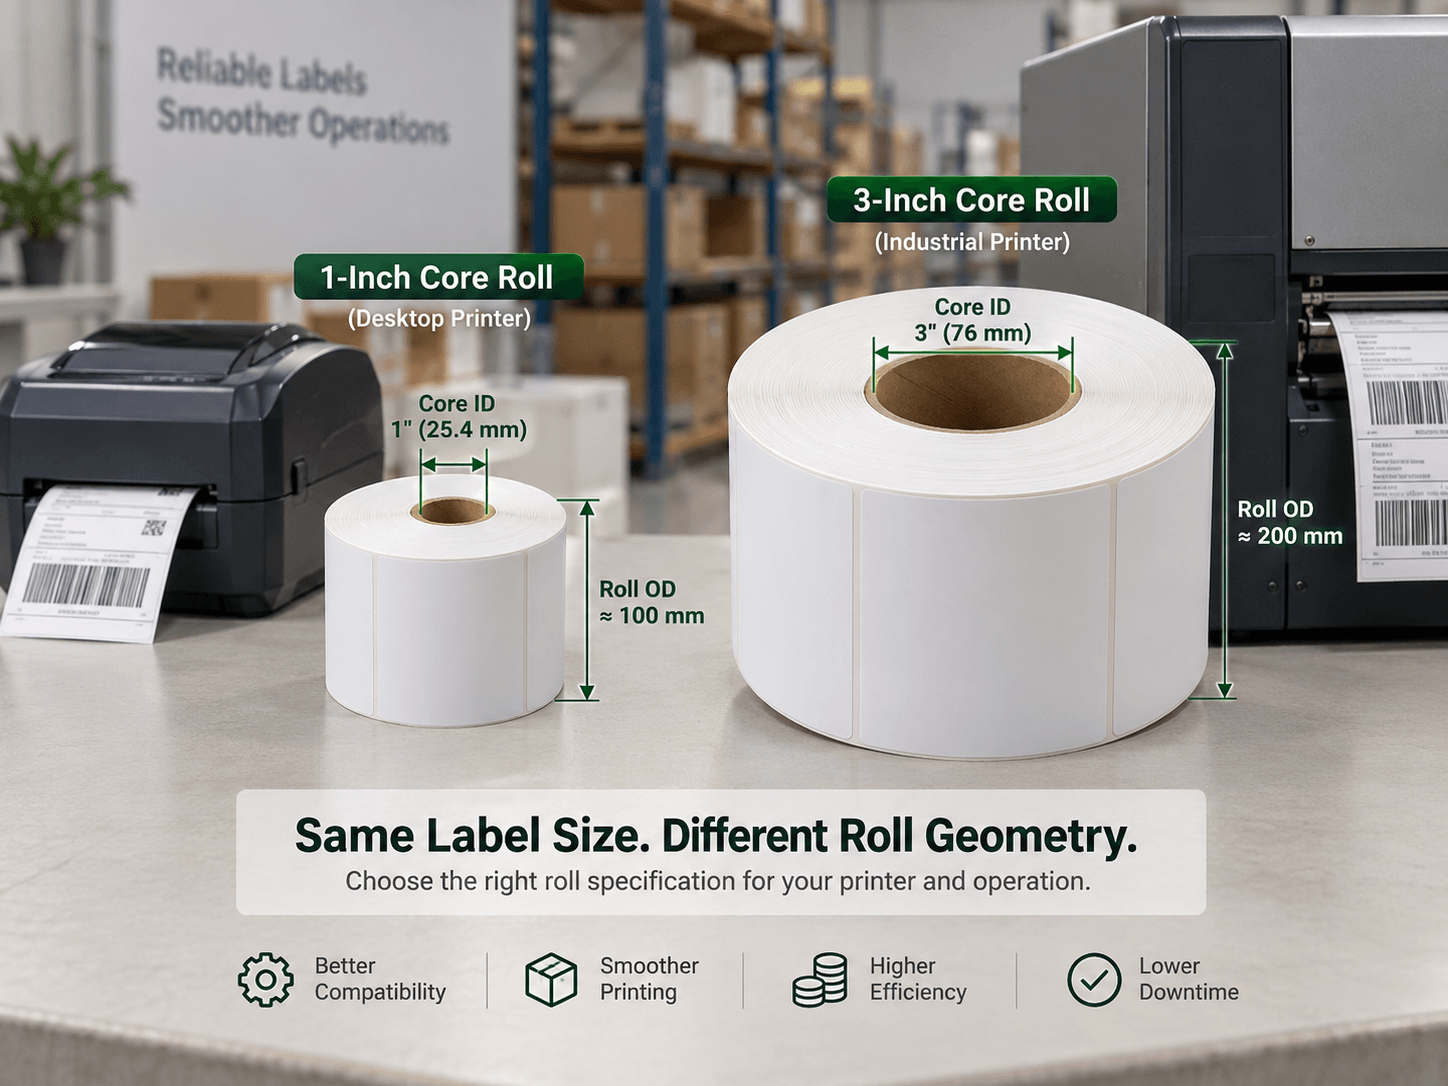
Check the complete printer fit
Send the exact printer model and configuration, including any external roll holder or core adapters. Confirm core inner diameter, maximum full-roll outer diameter, total media width including the liner, and maximum print width. A roll fitting inside the printer does not guarantee that the full artwork can be printed.
For example, Zebra lists a maximum roll OD of 127 mm for the ZD421, while media-width limits vary between its direct thermal and thermal transfer configurations. Use the specification for the actual configuration rather than a generic “4-inch printer” description.
Zebra ZD400 series printer specifications
Confirm whether labels must be wound face-in or face-out and which edge feeds first. An approved winding diagram is clearer than a verbal description, especially for preprinted labels and automatic applicators. Do not assume an operator can compensate for an incorrect winding direction.
Match the feed format and sensor
Rolls suit printers with internal media holders. Fanfold stacks can provide longer runs when the printer supports external feeding and the workstation has enough space for an unobstructed feed path. Check support before choosing either format.
For die-cut labels, specify the gap or black-mark arrangement, including dimensions and position. Continuous media is a separate media mode without a gap defining every label; it should not be treated as a third label-position sensor type. Model-specific media recognition requirements also need checking. Matching the label size alone is insufficient.
Compare usable labels and changeovers
Compare prices per 1,000 labels using the same material and agreed specification. At 1,000 labels per day, 250-label rolls consume four rolls, while a 1,000-label roll supplies the same quantity in one roll. Starting with a full roll, that means three changes during the run versus none. This comparison only applies when the equipment supports both roll formats.
Higher counts usually increase roll OD for a given construction and core. Confirm the finished diameter rather than assuming a larger count will fit. Agree the count requirement, dimensional tolerances, and whether splices are permitted and must be marked.
Select adhesive for the actual carton
Give the supplier the packaging material and its surface condition: recycled corrugated board, coated carton, plastic mailer or another substrate. Record the temperature at application, later storage and transport temperatures, and any moisture exposure. “Permanent adhesive” describes the intended bond type; it does not define suitability for every surface or temperature.
Use actual packaging for sample approval. A label that holds on a clean office carton may behave differently on a dusty, coated or cold production carton. For temperature-related problems, see the companion article How Application Temperature Affects Thermal Label Adhesion.
Approve samples in the working process
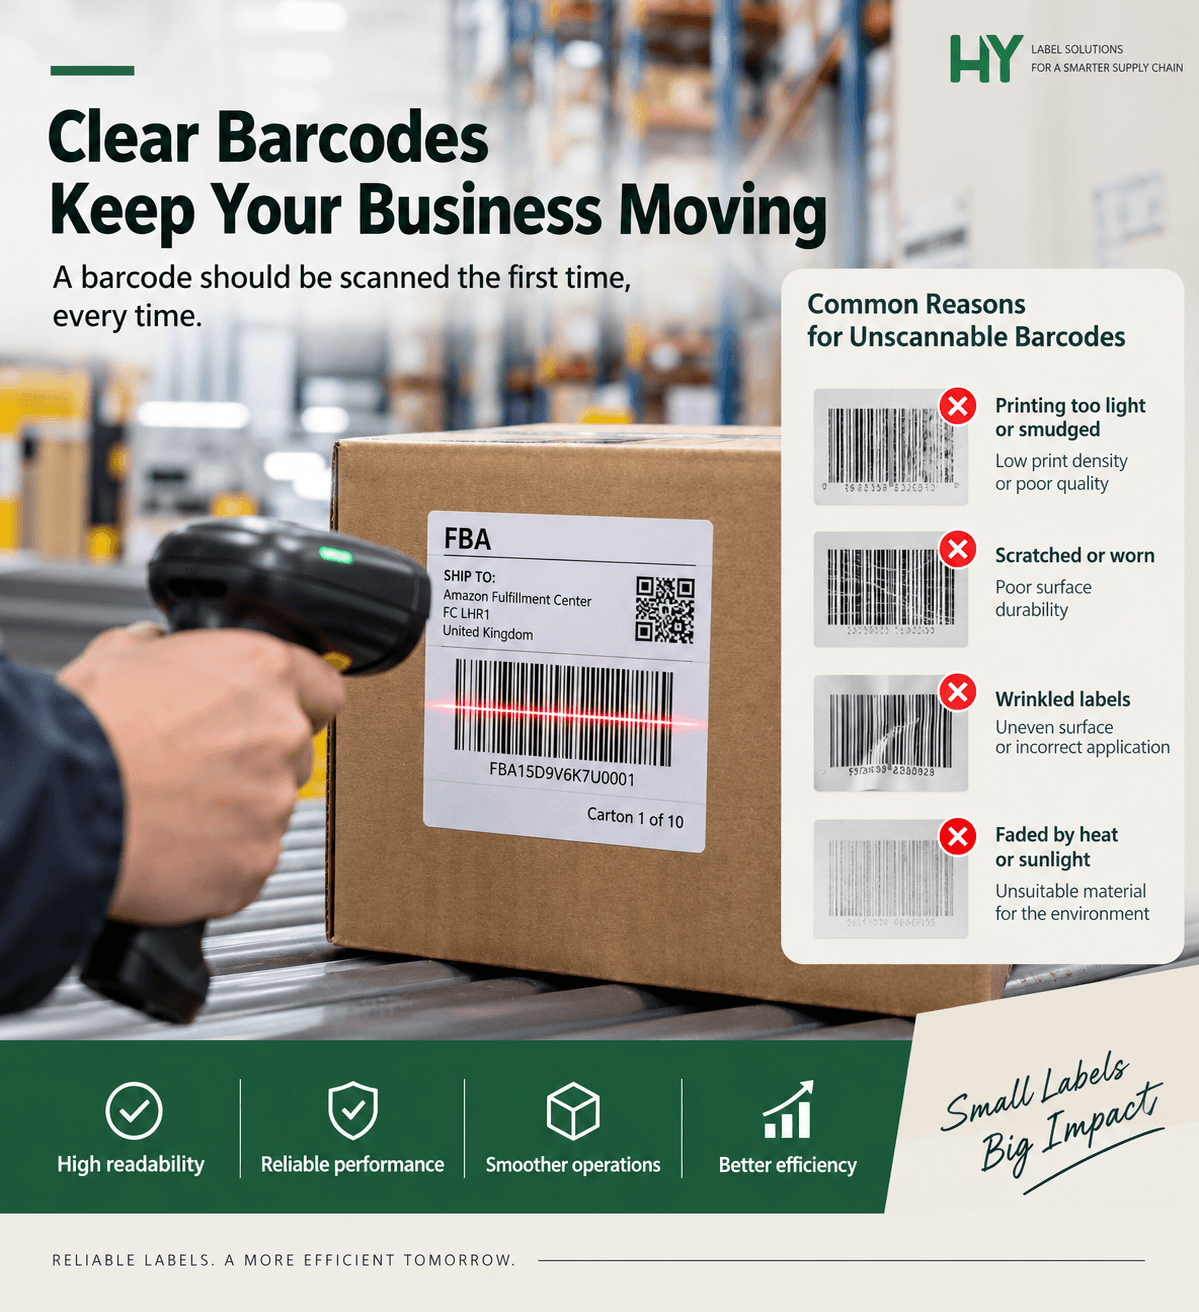
Print a real carrier label using the normal printer resolution, speed and darkness setting. Check alignment, barcode edges and blank margins, then scan after normal handling. Increasing darkness is not a substitute for correct settings: overly heavy printing can reduce definition. Where a customer or carrier requires formal barcode verification, follow that requirement.
Run enough labels to reveal feeding or winding issues beyond the first few prints. Record skipped labels, calibration problems, edge lift and interruptions. For larger orders, agree how rolls from different cartons or batches will be checked; one successful sample does not establish batch consistency.
Agree batch identification and export packaging
Before production, record the approved facestock, adhesive and liner construction, or the agreed material reference. Specify how proposed material changes will be approved. Agree batch identification on cartons and retention of reference samples so repeat-order problems can be traced.
Confirm rolls per carton, carton markings and protection against moisture, crushing and roll movement during the intended transport route. Discuss pallet dimensions and handling requirements where applicable. Damaged cartons can add receiving and repacking work even when the labels remain usable.
Information to send with an RFQ
- Basic specification: Label dimensions; DT or TT; exact printer model and configuration; expected order quantity.
- Roll configuration: Core ID; maximum roll OD; labels per roll; total media width; roll or fanfold; winding diagram.
- Media and artwork: Gap or black-mark details; perforations; splice requirements; artwork or carrier-format sample.
- Application conditions: Packaging substrate; application and service temperatures; moisture exposure; required label life.
- Material and packaging: Approved material reference if available; rolls per carton; batch markings; export packaging requirements.
Frequently Asked Questions
Can I replace 4×6-inch stock with 100 × 150 mm labels?
Often the workflow can accommodate the metric format, but confirm the carrier layout, printer settings and usable print area before ordering.
Is 203 dpi sufficient?
It is widely used for shipping labels, but acceptance depends on the barcode dimensions, artwork and printing conditions. Validate the actual carrier label rather than choosing by dpi alone.
What if I do not know the core size or winding direction?
Send clear photographs of the current roll, its label or box, and the printer model plate. Add measured dimensions where possible and confirm the final specification in writing.
Discuss your shipping label specification
Send HY-paper your printer model, current label specification or photos, expected quantity and packaging conditions. These details give us a practical starting point for discussing the roll format and material before you approve samples and a bulk order.