How Application Temperature Affects Thermal Label Adhesion

How Application Temperature Affects Thermal Label Adhesion

A thermal label rated for service at −40°C can still peel when first applied to a cold carton. The adhesive may tolerate freezing after a bond has developed but need a warmer surface to form that bond. For buyers investigating cold-weather failures, the starting point is to separate application temperature from service temperature, then test the actual packaging and process.
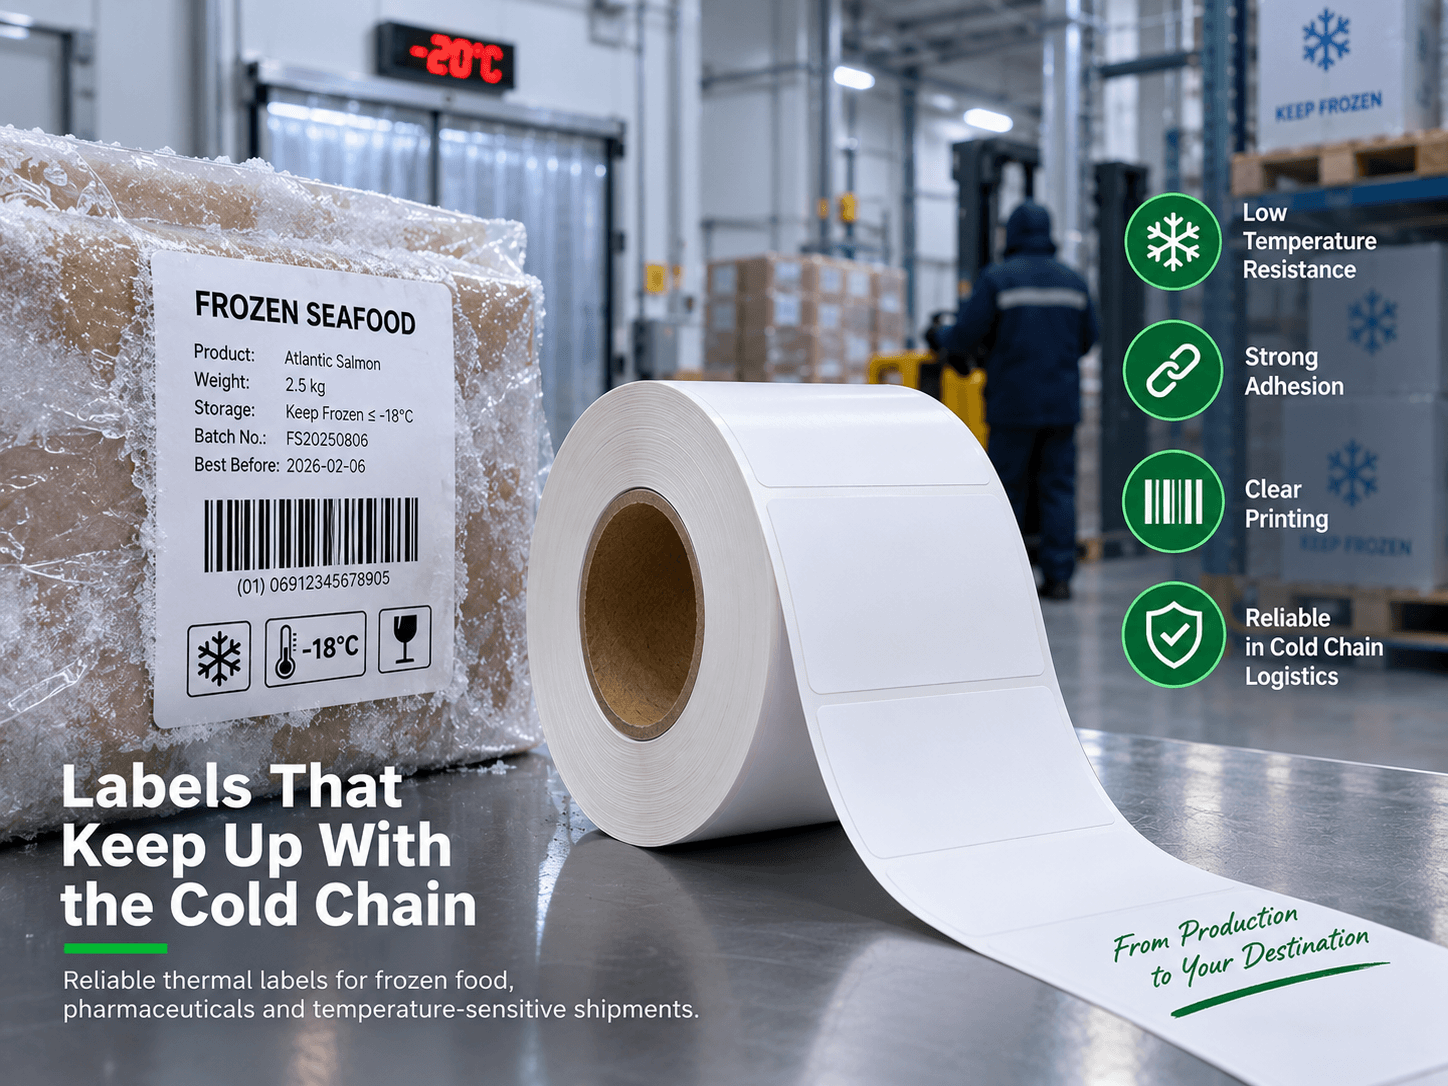
Illustration of a thermal label roll beside a frost-covered seafood carton in a cold store displaying −20°C.
Illustrative cold-chain scene. Freezer service capability does not establish suitability for application to a cold, wet or frosted surface.

Read the two temperature specifications separately

Minimum application temperature is the lowest recommended temperature for applying the label under the supplier’s stated conditions. Service temperature is the range the applied label is intended to tolerate after correct application and any required bond-development period.
As a product-specific example, Zebra’s US Z-Essentials 500D specification lists a minimum application temperature of 4°C and a service range of −40°C to 60°C. Those figures illustrate the distinction; they are not specifications for other thermal labels or for HY-paper materials. Confirm the current datasheet for the exact construction being purchased.
Do not select a material from its lowest service-temperature number alone. Ask about application conditions, any waiting period before cold storage, and the complete construction. Adhesion and printed-image readability are separate performance checks.

Understand what changes at low temperature

Pressure-sensitive adhesive needs close contact with the substrate to form a useful bond. This is often called wet-out. Many adhesives become firmer and less tacky as temperature falls, making that contact harder to establish.
Rough corrugated board can limit contact, but a smooth surface is not automatically easy to label. Plastic type, surface energy, coatings and contamination also matter. Polyethylene and polypropylene, for example, can require adhesive selection that accounts for their low surface energy.

Measure the packaging and check for moisture

A warehouse air reading does not establish carton temperature. Packaging unloaded from a refrigerated vehicle or taken from a cold room may remain colder than the surrounding air. Measure the substrate at the point of labelling and record the label roll’s temperature and storage history too.
Condensation may form when a cold surface enters warmer humid air. Water or frost can interfere with adhesive contact. Test cold dry packaging separately from cold damp packaging; a low-temperature adhesive is not automatically suitable for wet or frosted surfaces. Discuss drying, a different application point, or a construction intended for the actual moisture conditions.
Include colder-month conditions in approval testing, even if initial trials take place in warmer months. Record temperature and humidity rather than using the season as a proxy. This also makes results easier to compare across sites and countries.
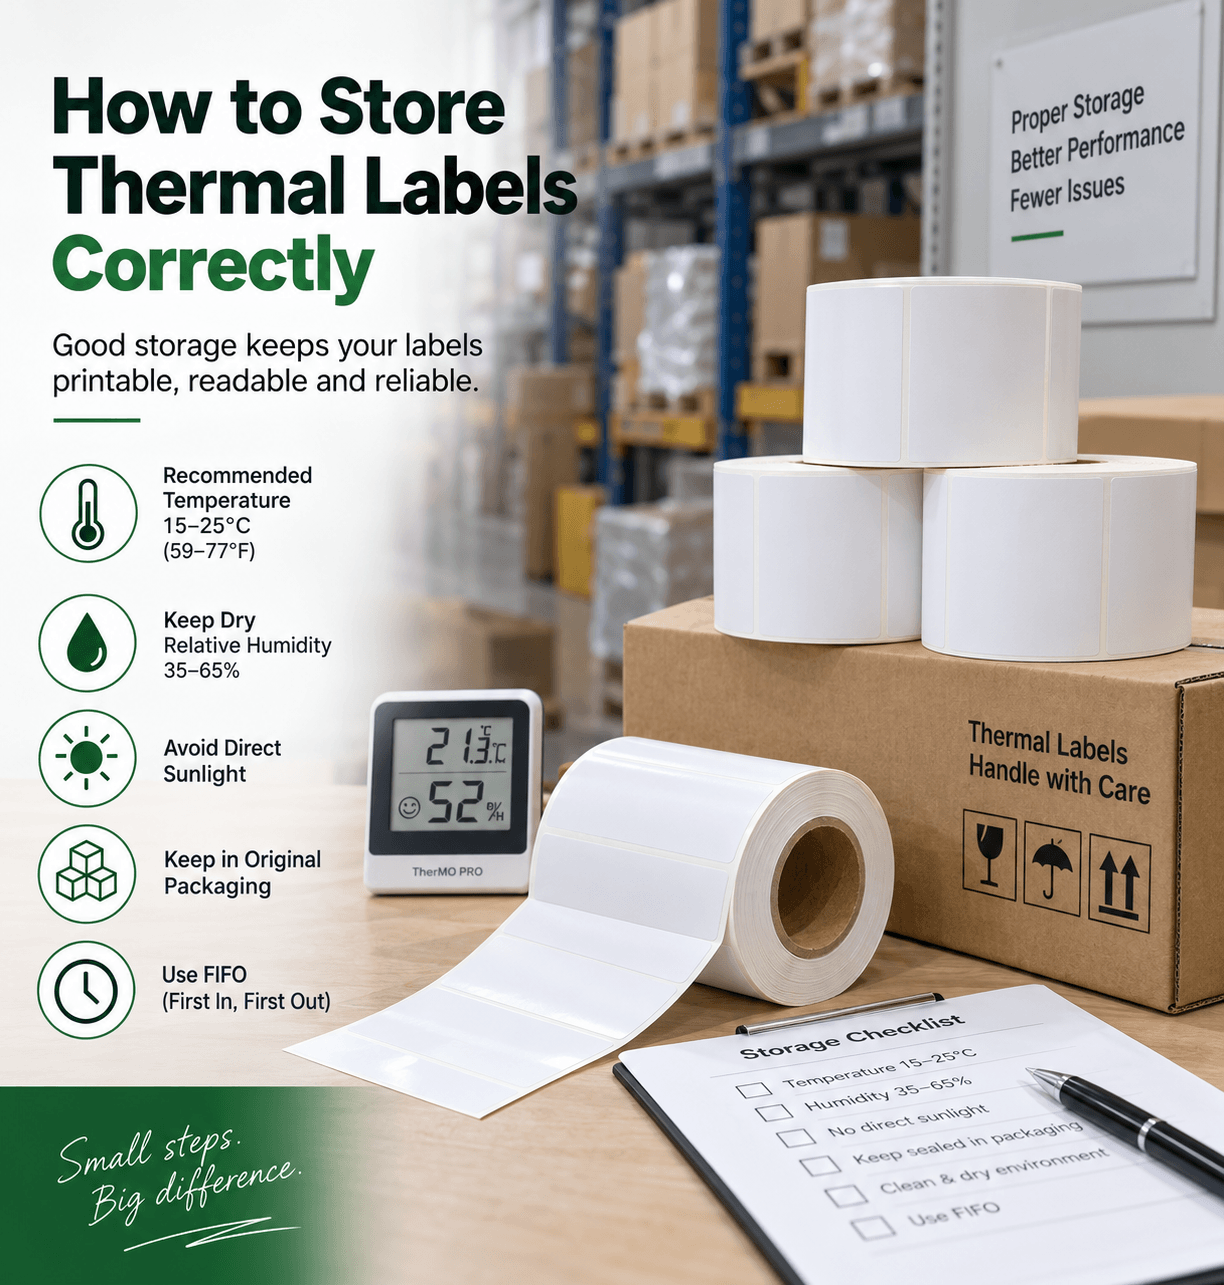
Thermal label rolls with a temperature and humidity monitor and storage guidance covering sunlight, original packaging and first-in, first-out stock rotation.
Illustrative storage guidance. Use the exact material supplier’s specified temperature, humidity and shelf life; the pictured ranges are not universal limits.

Separate application pressure from bond-development time

A hand-applied sample may receive more pressure and more even contact than a label on a fast automatic line. If manual application succeeds but production fails, inspect applicator pressure, roller condition, speed, alignment and contact across the label.
Application contact time is the time spent pressing the label onto the surface. Dwell time here means the elapsed time after application before testing or exposure to the next process step. They are different variables. Ask the material supplier whether the construction needs a specified interval before entering cold storage, and reproduce the real interval during testing.
General pressure-sensitive adhesive guidance explains how pressure, time and temperature affect contact. It does not establish a universal waiting period for every label adhesive.

Run a controlled comparison before changing material

Compare the current material with a proposed alternative on packaging from the same batch. Apply both at a normal reference temperature and at the actual low application temperature. If condensation occurs in production, add a separate condition that reproduces it. Use multiple samples per condition rather than judging a single label.
Keep label size, application method, pressure and handling consistent. Record material and packaging batch references, substrate and roll temperatures, surface moisture, time before cold storage, and inspection times. Check immediate hold, edge lift, movement and performance after realistic storage and handling. Also scan the printed label after exposure.
Define success before testing. For a permanent shipping label, reliable attachment through the required journey is the priority. Fibre tear during removal can be recorded, but it is not a universal pass criterion. For a removable label, evaluate attachment during use and clean removal after the required dwell and temperature exposure. Record residue and surface damage separately.
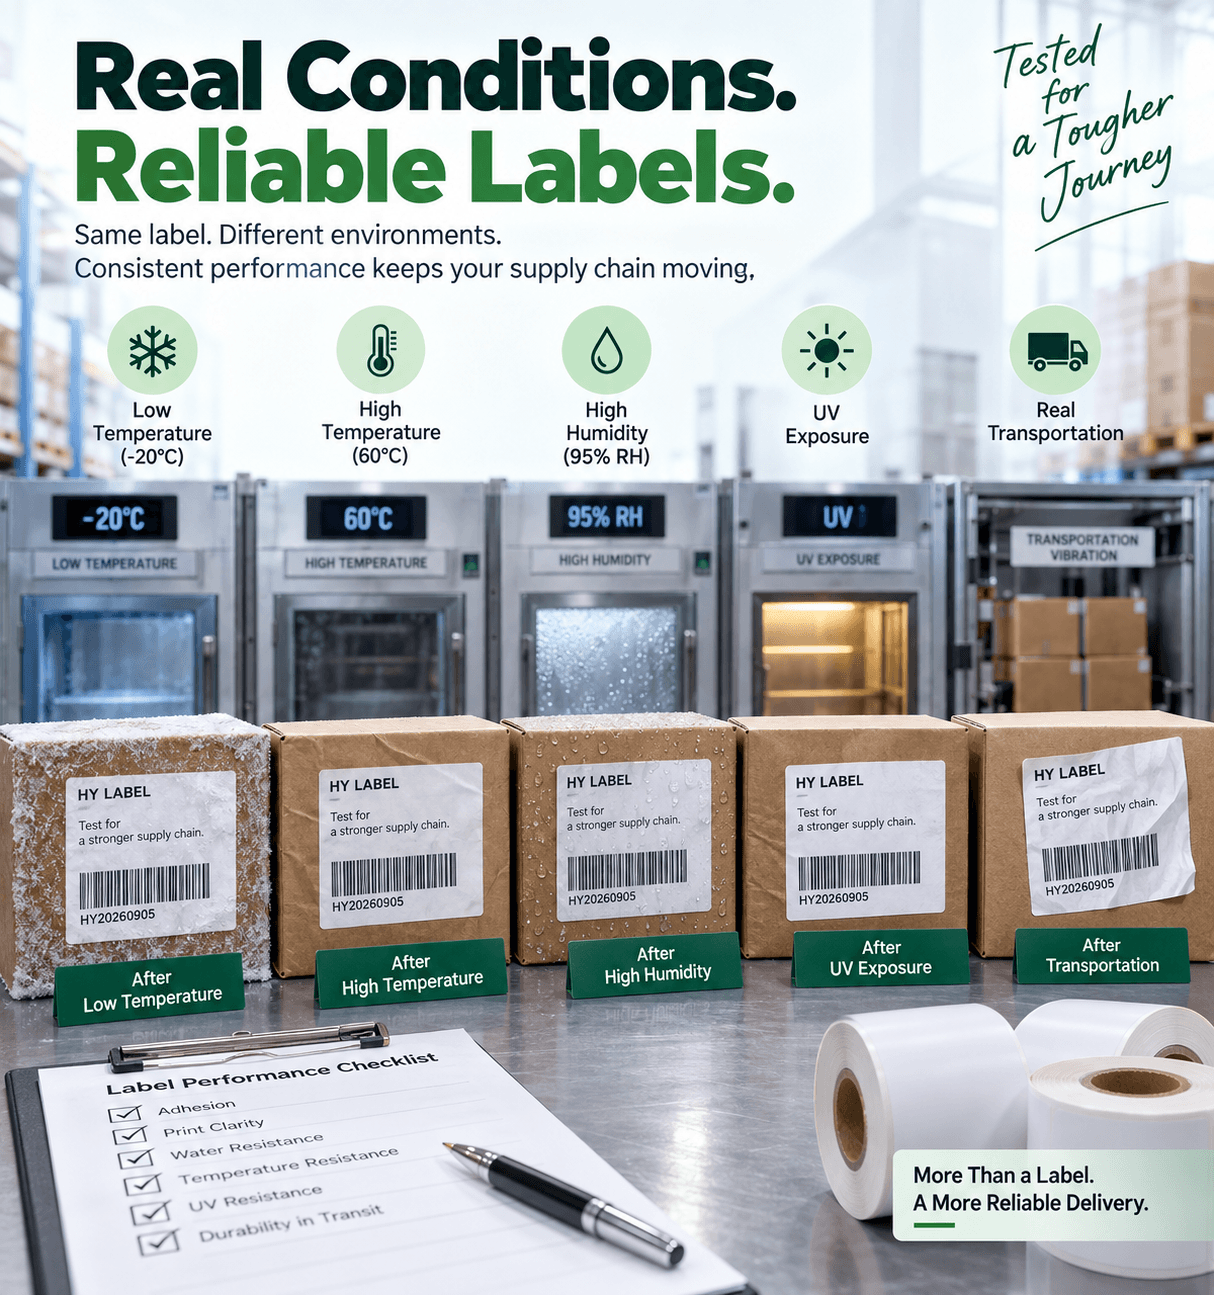
Illustration of labelled cartons under five test conditions: −20°C, 60°C, 95% relative humidity, UV exposure and transportation vibration.
Illustration of possible test conditions, not a record of completed HY-paper tests or verified results. Choose exposure levels and duration for the actual application.

Use failure patterns to narrow the investigation

  • Works after the carton warms up: investigate application temperature while also checking whether surface moisture changed.
  • Fails mainly on damp packaging: investigate moisture tolerance and the application point.
  • Sticks initially but fails in cold storage: check the service range, bond-development interval and complete label construction.
  • Works on one carton batch only: check substrate coatings, texture and contamination as well as temperature.

Illustration of a labelled carton passing beneath a fixed barcode scanner on a warehouse conveyor, with a successful scan shown on screen.
Illustration of an automated warehouse workflow. Confirm adhesion and barcode readability in the actual process.

Put measurable requirements on the order

Use a defined application profile instead of “freezer label” or “strong glue”. The following is an illustrative requirement, not a claim that a particular material will pass:

  • Application surface temperature: as low as 0°C.
  • Expected service range: −20°C to +40°C.
  • Substrate: recycled corrugated carton.
  • Method: automatic print-and-apply; possible condensation.
  • Bond requirement: permanent.
  • Minimum time before cold storage and required label life:supplied by the buyer.

Also provide label dimensions, DT or TT print method, printer model, line speed and a packaging sample where possible. Agree the selected material reference, storage instructions and sample acceptance criteria before production. If the actual process falls outside the stated conditions, retest rather than relying on the original approval.

Frequently Asked Questions

Does permanent adhesive mean freezer-compatible?

No. It describes the intended bond type. Both application and service conditions must match the selected construction.

Do all cold-chain labels need freezer-grade adhesive?

No. A label applied in warmer conditions may be suitable for later cold storage if its service rating and required bond-development conditions cover the process. Low-temperature application requires separate confirmation.

Should I choose the lowest temperature rating available?

Choose a construction supported by your actual requirements and sample results. A more extreme rating does not by itself resolve moisture, substrate or applicator problems.


Discuss your application conditions

If labels are lifting, send HY-paper the substrate type, measured application temperature, storage conditions and photos of the failure. Include whether the surface is damp and how soon the package enters cold storage. This gives us a clearer basis for discussing material options and a relevant sample trial.
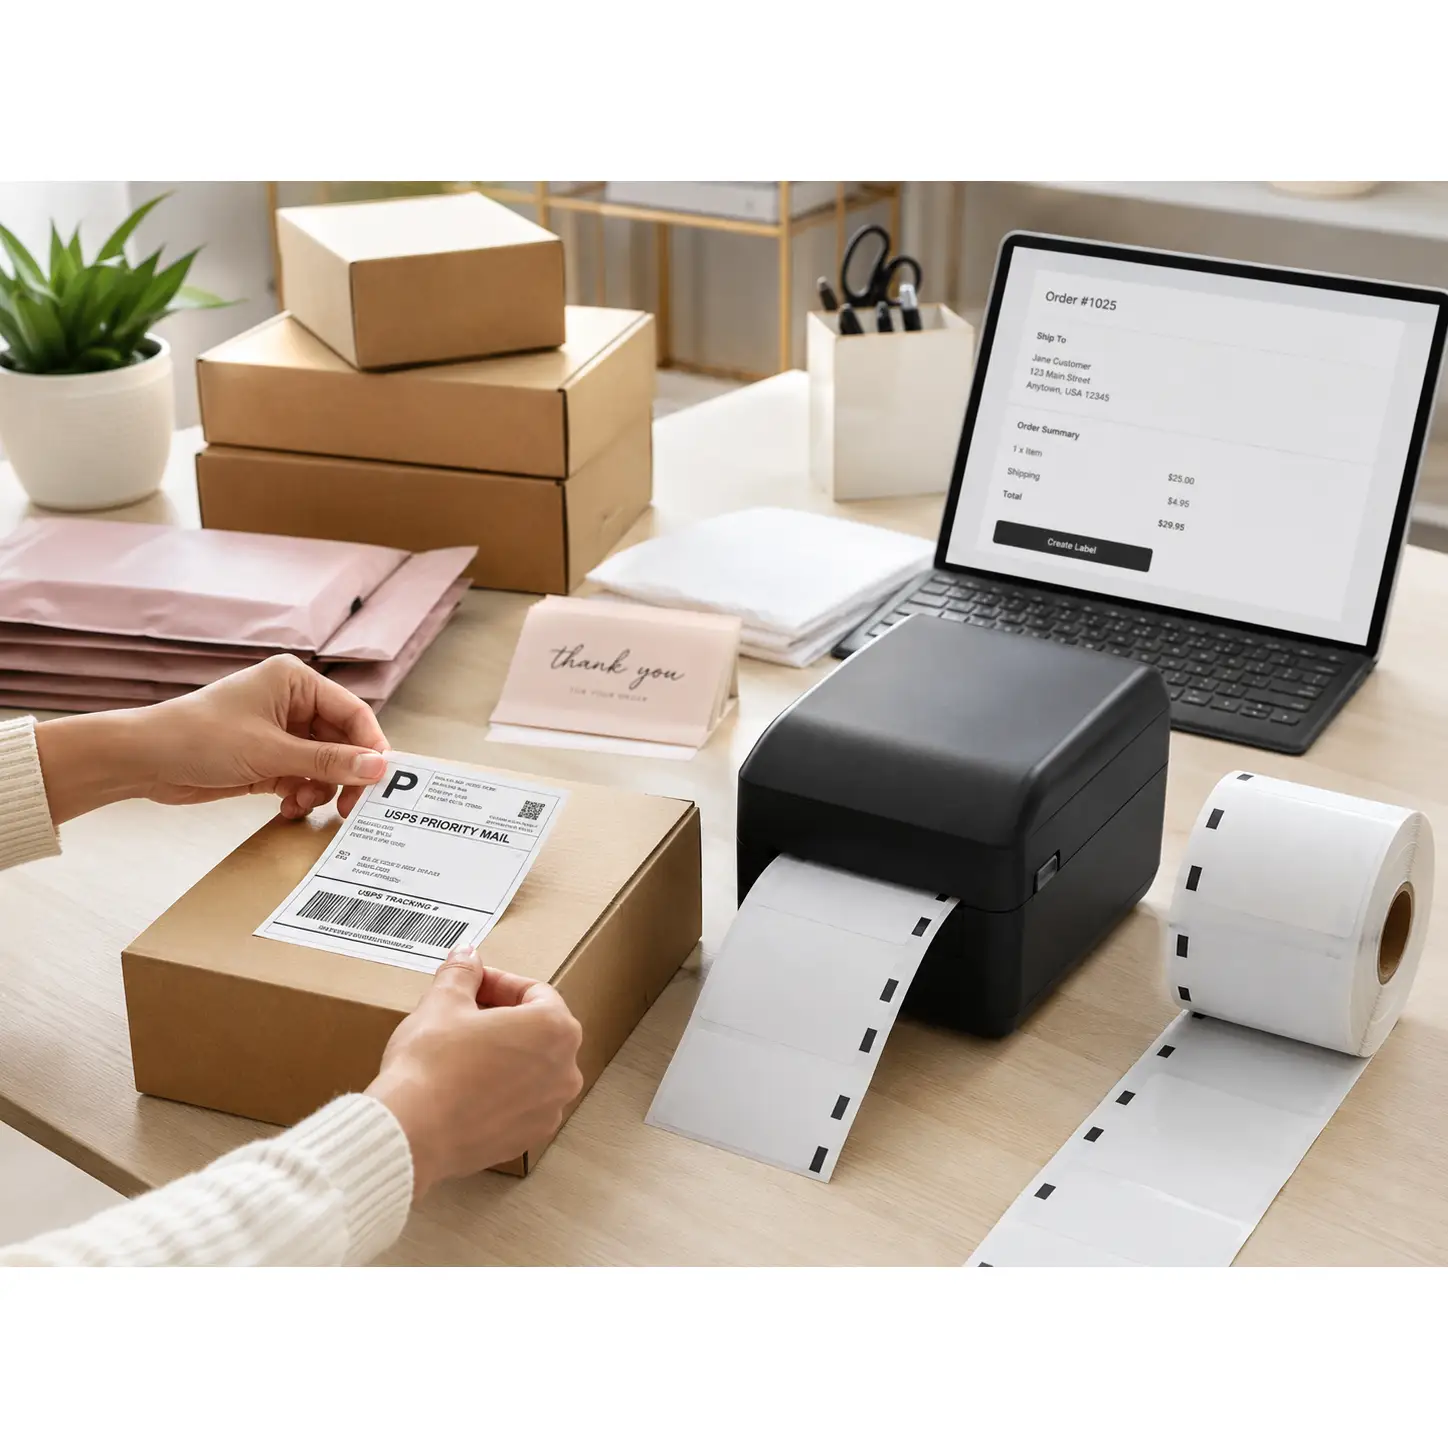
How to Choose the Right Thermal Label Sensor.

Selecting the proper thermal label sensor is essential for maintaining precise print registration and avoiding costly paper jams. This comprehensive guide details how transmissive gap sensors, reflective black mark sensors, and physical notch mechanisms interact with various facestocks, liners, and adhesives.

HY Paper DYMO compatible thermal label for barcode and address printing

How Thermal Label Sensing Prevents Continuous Feed and Alignment Errors

Thermal printers need to rely on accurate optical or mechanical detection tools, so that the machine can determine where one cut label ends and the next label begins. If the printer lacks accurate label detection functions, the printhead cannot calculate the top starting edge correctly, which causes printed images to shift position during high-speed runs. If this positional error keeps accumulating, it creates severe alignment issues, leaving barcode graphics cut directly in half, or printing text straight onto the backing paper.

As the media moves through the feed mechanism, transmissive and reflective sensors read changes in light transmission or surface reflectivity. Once light passes through the gap between labels, or bounces back from a high-contrast black mark on the backing paper, a small controller inside the printer receives a sudden voltage signal. This signal immediately recalibrates the stepper motor, locking the starting point of each print pass to the exact beginning position of the label media. Prompt sensor feedback not only stops the paper from drifting, but also lightens the mechanical tension on the rubber roller, which reduces paper jams, and prevents expensive printheads from being damaged by glue residue.

Standard Gap Sensing Mechanisms in Roll-Fed Label Printers

Transmissive detection, which people usually call standard gap sensing, mainly relies on a light emitter and receiver installed on the top and bottom sides of the paper path. As the whole label roll moves through the printer, the sensor measures the light difference between the label itself and the semi-transparent glassine backing paper. Because thicker label paper absorbs more light, while single-layer backing paper lets more infrared light pass straight through the cut gap, this rapid change in light intensity causes the sensor’s output voltage to drop. The printer controller receives a signal immediately, knowing that the front edge of a fresh label has reached the print line.

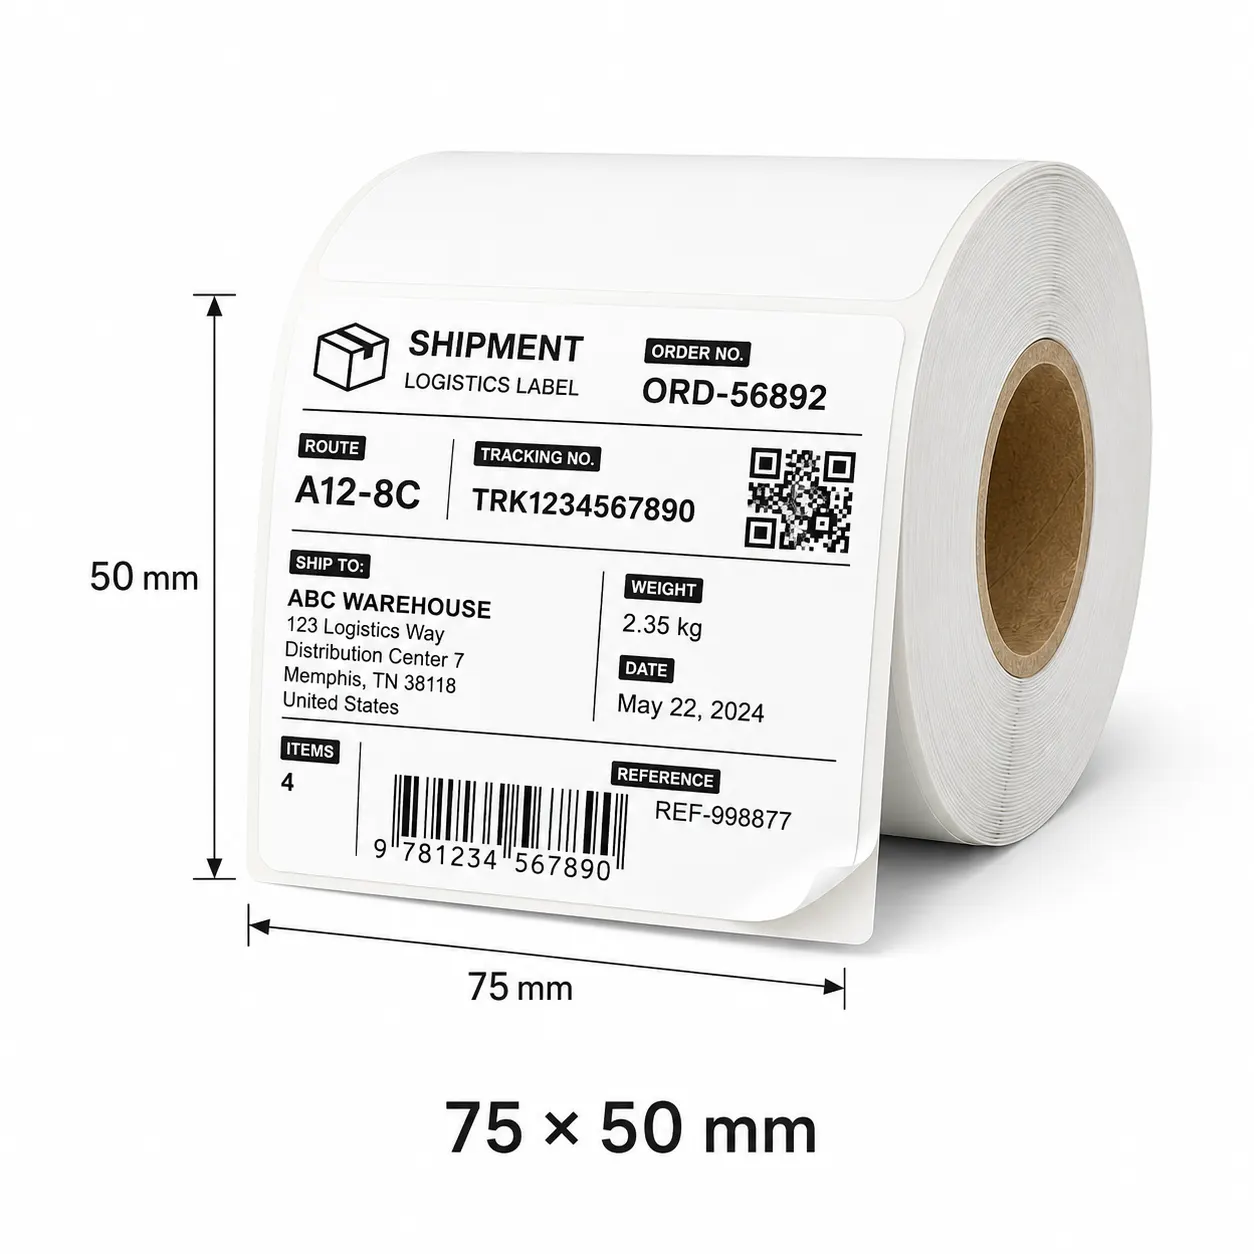
HY Paper 75 x 50 mm thermal label size diagram

If workers want to keep detection results stable, they need to adjust the physical position of the sensor along the paper guide, especially when printing multi-column labels or labels with rounded corners. If the light beam happens to hit pre-printed patterns or irregular liner seams instead of the cut gap, the printer can easily make a wrong judgment. Standard gap sensing works very well for opaque paper and synthetic face materials, but when facing clear plastic labels or heavy backing paper that blocks infrared light completely, its detection capability becomes limited.

Black Mark Sensors for Transparent, Dark, and Die-Cut Substrates

Reflective optical sensors are commonly called black mark sensors, and they measure reflected light instead of transmitted light to solve some limits of transmissive detection. This type of sensor is installed under the paper path, emitting infrared or colored light beams upward toward the back of the backing paper during work. Because clear plastic films, dark synthetic materials, and thicker backing paper often block or scatter light randomly, traditional gap sensing becomes unreliable.

Black mark sensors directly look for high-contrast black bars printed on the back of the backing paper, completely bypassing interference caused by material thickness. Dark carbon-based ink absorbs the light, and compared with the surrounding backing material, the reflected light drops visibly. This obvious change in voltage feedback tells the print driver the exact position of the label edge, no matter if the top face material is totally transparent, metallic, or irregularly shaped.

For black mark detection to succeed, it depends heavily on whether print contrast is strong enough, and whether the black bar shape and size are standard. To absorb light effectively, the black bar must have high optical density, and its width usually needs to reach three to five millimeters within the adjustable sensor range. Also, printing black marks away from background patterns prevents false triggers, ensuring smooth feeding for industrial labels during high-speed printing.

Physical Notches and Hole Punches: When Optical Sensors Fail

When optical light transmission and reflection methods completely fail to work, using physical notches and precision hole punches becomes a reliable hardware solution. Some packaging materials lack the light transmission changes needed for gap sensing, and also lack the dark contrast required for reflection detection, such as clear poly films, thick cardstock, or woven tags. Under these difficult physical conditions, manufacturers punch a clear notch on the edge of the material, or cut a hole directly through the center of the backing paper at each label interval.

As the paper moves forward, a specialized mechanical or transmissive sensor pinpoints these open holes, and when an open gap passes the detection point, it causes a sharp change in light passage or mechanical switch activation. This method of using physical cutouts completely eliminates calibration errors caused by surface graphics, dense hot-stamping foils, or uneven backing paper thickness. The sensor directly ignores surface colors, stray glue, and material transparency, focusing purely on structural cutouts in the material itself.

When using notch detection, workers need to align the sensor assembly and the hole position completely in the physical direction, ensuring the mechanical trigger point matches the starting margin set in the print driver. This structural approach prevents slipping during high-speed printing, ensuring accurate alignment even on complex, heavy industrial materials.

Common Label Alignment Issues and Calibration Solutions

When label alignment problems happen, they usually show up as continuous vertical drift, skipped labels, or printed text crossing over the cut edges during continuous printing. These printing faults usually come from wrong sensor positioning, incorrect driver settings, or dirty material on the optical glass. When the printer fails to detect the top starting point, the internal stepper motor keeps feeding paper, but the printhead does not release ink at the intended position, resulting in cumulative alignment errors.

Paper dust falling from backing paper and residue from evaporating glue often accumulate on the light emitter, which lowers sensor sensitivity and causes it to mistake minor backing paper flaws for real label gaps. If workers want to solve these feeding inaccuracies, they need to combine daily physical cleaning with hardware calibration. Wiping the optical sensor with isopropyl alcohol restores light transmission clarity, allowing the phototransistor to accurately measure small changes in backing paper density or reflective contrast.

HY Paper slitting and rewinding machine for label materials

Performing a manual calibration forces the printer firmware to measure the baseline voltage of the backing paper and the whole label, resetting the internal trigger threshold to match the current paper roll. At the same time, adjusting paper guides tightly against the roll edge prevents paper from moving left and right, keeping the material locked on the central optical track, so that accurately aligned labels can be printed.

Matching Sensor Types with Liner Material, Adhesives, and Backing Textiles

Selecting a proper detection mode requires matching the physical properties of the label combination with the optical characteristics of the printing hardware. If common paper labels are paired with acrylic adhesive and glassine backing paper, they are very suitable for transmissive gap sensors, because the contrast between single-layer backing paper and double-layer labels creates a clear voltage difference. If synthetic materials like polypropylene or polyethylene are used with strong rubber adhesive or dark backing paper, light struggles to pass through, and choosing reflective black mark detection becomes much safer.

Metallic foils and shiny films create mirror-like reflections that easily blind standard reflective sensors, so workers need to install the sensor at an angle, or switch to an RGB light emitter that separates color spectrum contrast. As for fabric backings, thick cardstock, and continuous self-adhesive materials, they have special physical properties and need specialized sensor setups. Woven care labels and thick paper tags have no fixed light gaps and are hard to print with clear black marks, so physical notch sensing or using software to control feeding distance becomes the main approach.

Continuous feed mode turns off optical gap detection completely, relying purely on motor pulse counts to push fixed lengths of material. As long as packaging workers understand these material interactions, they can choose the right material structure during early design, avoiding wasted time and materials on the factory floor.


Resolve Your Label Sensing & Converting Challenges

Struggling with label skipping, clear film calibration, or black mark positioning? Our technical team provides tailored die-cut options, custom mark printing, and free sample rolls validated for your printer model.